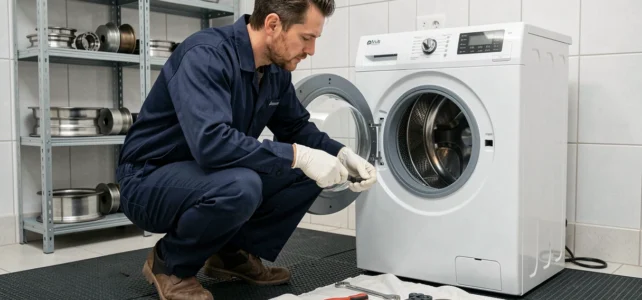
A drum rubbing against the tub, a dull noise with each spin, a machine moving by itself on the tiles: we’ve all experienced at least one of these symptoms. Before replacing the appliance or calling a technician, there’s a simple diagnosis you can make yourself. The drum of the washing machine is not a monolithic part, and several distinct causes can explain a malfunction.
Moving drum or moving tub: two different breakdowns in your washing machine
The first mistake is confusing a drum with play with a whole tub that is moving. These two situations lead to opposite repairs. If you grab the drum through the porthole and it wobbles several centimeters relative to the tub, the problem lies with the bearings or spider. The drum is rotating on a worn axis, and the play worsens cycle after cycle.
On the other hand, if it’s the entire tub that moves when you press on it, the shock absorbers or suspension springs are to blame. A quick test helps to decide: press firmly on the tub and then release. If the tub bounces several times before stabilizing, the shock absorbers are worn. A smooth return in one motion indicates normal operation.
This diagnosis takes two minutes and avoids unnecessary disassembly. We also know, thanks to this guide on how to fix a washing machine drum, that the correct fixing of the drum relies on precise anchor points that need to be checked before any other intervention.
Forgotten transport bolts: the most underestimated mechanical cause
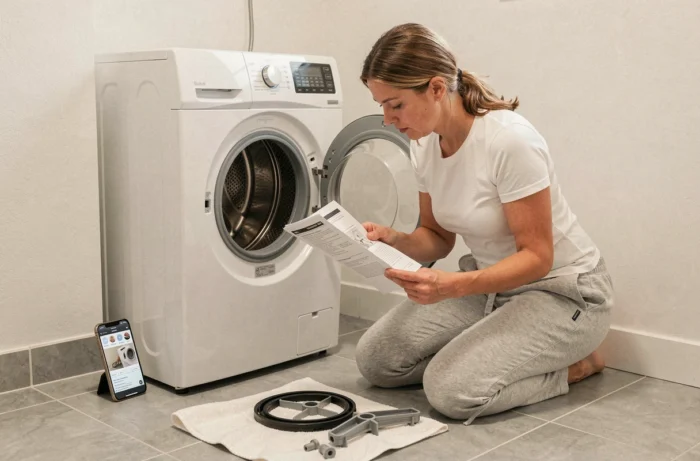
After a move or first installation, many washing machines vibrate abnormally. We think it’s a defect, we look at the bearings, while the cause is much simpler. The transport bolts, those large screws located at the back of the machine, are used to immobilize the tub during transport. If we forget to remove them, the tub cannot oscillate freely on its suspensions.
The result: the machine vibrates, moves, makes an intense metallic noise during the spin cycle, and can even damage its shock absorbers by working against a stiffened tub. They are easily identifiable, usually three or four through bolts with plastic spacers, accessible without special tools.
The opposite also poses a problem. During transport without the original screws (lost or thrown away), the drum must be immobilized in another way. Dense foam wedges, straps wrapped around the tub, or thick cardboard between the tub and walls do the trick temporarily. This immobilization must remain provisional: a tub compressed for too long can deform the suspension springs.
Drain filter and imbalance: a direct link between maintenance and drum wear
A clogged drain filter is rarely associated with a drum problem. However, the link exists. A blocked filter prevents water from draining properly. The laundry remains soaked at the time of spinning, which asymmetrically increases the load.
This additional imbalance forces the drum to work off-axis. The bearings endure lateral stresses for which they are not sized, and wear accelerates. You may also find an object stuck between the drum and the tub (a coin, a staple, a piece of clothing passed through the seal) that creates a hard point with each rotation.
Cleaning the filter takes just a few minutes:
- Place a mop and a low container under the filter hatch, as residual water always flows out upon opening
- Slowly unscrew the filter counterclockwise, allowing water to flow intermittently to avoid flooding the floor
- Remove accumulated foreign bodies (textile fibers, small objects, detergent deposits) and rinse the filter under running water
- Check that the impeller of the drain pump, visible in the filter housing, turns freely by hand
A cleaned filter every two months significantly reduces imbalance and prolongs the life of the bearings.
Drum bearings: sound diagnosis and replacement
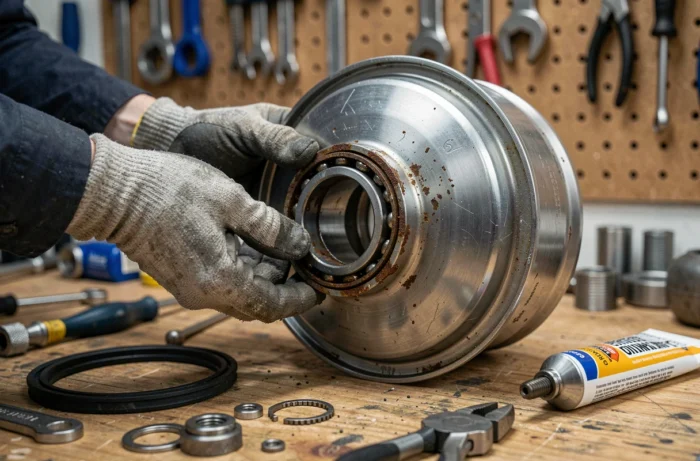
Noise is the best indicator. A dull and continuous rumble during the spin cycle, which amplifies over the weeks, points to bearings at the end of their life. If you turn the drum by hand with the machine off and hear a squeak or feel hard spots, the diagnosis is confirmed.
Replacing the bearings requires removing the drum from the tub. On machines with an openable tub (two bolted half-shells), the operation remains accessible with common tools: socket wrenches, mallet, bearing puller. On sealed tubs, factory-welded, the returns vary on this point: some DIYers cut the tub with a saw to access the bearings, but this method weakens the sealing and is not always durable.
During reassembly, two details change everything:
- The sealing gasket (spi) is mounted with the lip facing inward to push water back toward the drum
- The bearings are pressed flat into their housing, without forcing at an angle, to avoid destroying them on the first cycle
- A bead of special bearing grease on the shaft seating facilitates insertion and protects against corrosion
Replacing the bearings without changing the sealing gasket only postpones the failure by a few months, no more. Both parts should be changed together.
Pulley and belt: check the drum drive of the washing machine
Loose or dislodged belt
If the drum spins empty without driving the laundry, or if you hear a high-pitched squeak at the start of the cycle, the belt has probably slipped or loosened. Check by removing the back panel. The belt should be taut between the motor pulley and the drum pulley, without excessive slack.
To put it back in place, first thread it onto the small motor pulley, then gradually guide it onto the large pulley while turning it by hand.
Loose drum pulley
The central screw of the pulley can loosen with vibrations. A pulley with play causes a rhythmic clattering at low speed. Tighten it with an appropriate wrench (often a large socket), locking the drum to prevent it from turning during tightening.
A washing machine drum doesn’t break down without warning. Noise, vibrations, and poorly spun laundry are all progressive signals. Identifying the right cause, whether it’s a forgotten transport bolt, a clogged filter, or a worn bearing, allows for targeted repairs and avoids unnecessary disassembly.